
Painting your skirting boards can be a great way to freshen up your space and give it a polished look. However, the thought of removing your carpet before starting the project can be daunting. Fortunately, there’s a way to paint skirting boards without the hassle of removing the carpet. In this step-by-step guide, we’ll walk you through the process of painting your skirting boards while keeping your carpet intact. So, let’s dive in and transform your space with a fresh coat of paint.
Materials Needed:
- Paint of your choice
- Paintbrush or roller
- Painter’s tape
- Drop cloths or plastic sheets
- Cleaning supplies (vacuum cleaner, broom, dustpan)
Step 1: Prepare the Area
Start by preparing the room for painting. Clear any furniture or obstacles near the skirting boards to create a clear workspace. Next, thoroughly vacuum the carpet around the skirting boards to remove any loose dirt or debris that could interfere with the painting process.
Step 2: Protect the Carpet
To prevent accidental paint splatters or drips on your carpet, it’s essential to protect it properly. Use drop cloths or plastic sheets to cover the carpet adjacent to the skirting boards. Secure the protective material in place using painter’s tape, ensuring a tight seal along the edges. This will create a barrier between the paint and the carpet, keeping it safe during the painting process.
Step 3: Clean and Prepare the Skirting Boards
Clean the skirting boards to remove any dirt, dust, or grease. Use a mild cleaning solution and a sponge or cloth to wipe them down thoroughly. Allow the skirting boards to dry completely before proceeding.
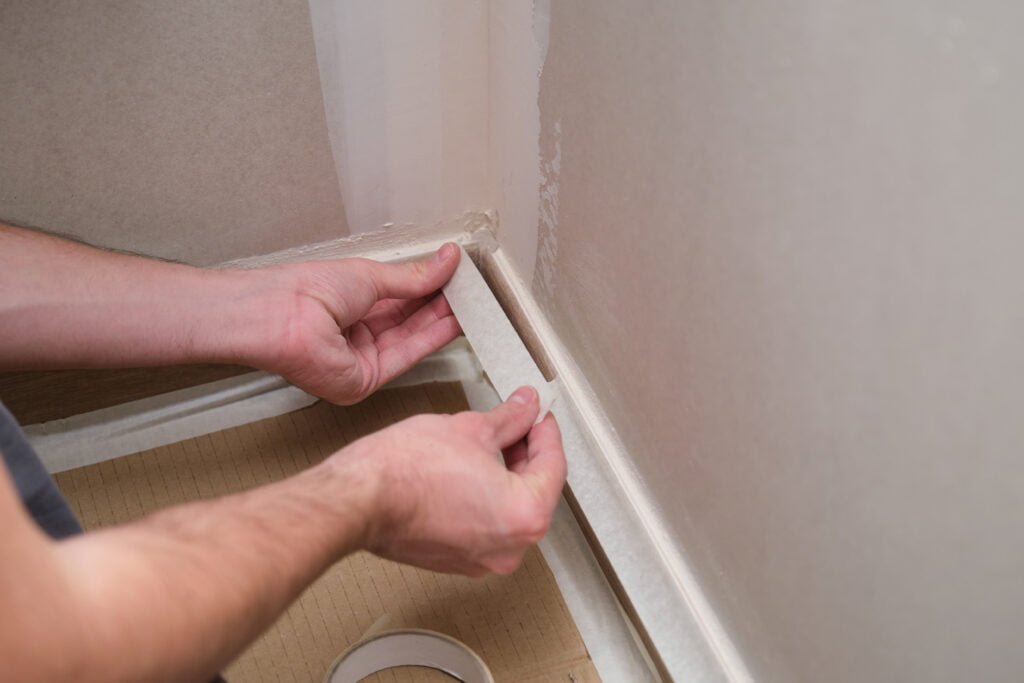
Step 4: Apply Painter’s Tape
Apply painter’s tape along the edge where the skirting boards meet the carpet. This will create a crisp, clean line and protect the carpet from any accidental brush strokes. Make sure the tape is firmly pressed down and free of air bubbles to prevent paint bleed-through.
Step 5: Start Painting
Now it’s time to paint! Choose a high-quality paint suitable for skirting boards. Using a brush or roller, apply an even coat of paint to the skirting boards. Start at one end and work your way along, ensuring consistent coverage. Be careful not to overload the brush or roller with too much paint to avoid drips.
Step 6: Allow the Paint to Dry
Follow the manufacturer’s instructions regarding drying times for the paint you’re using. Allow the first coat to dry completely before applying additional coats if necessary. It’s essential to maintain good ventilation during the drying process to speed up the drying time.
Step 7: Remove the Painter’s Tape
Once the paint is dry, gently remove the painter’s tape and pull it back slowly and at a slight angle to prevent any paint from peeling off with the tape then dispose of the tape carefully.
Step 8: Touch-Ups and Final Clean-Up
Inspect the painted skirting boards for any areas that may require touch-ups. Use a small brush to fix any imperfections or missed spots. Once satisfied, take the time to clean up the area by removing any remaining drop cloths or plastic sheets. You now ready to vacuum or sweep the carpet to eliminate any dust or debris that may have accumulated during the painting process.
Painting your skirting boards without removing your carpet is entirely possible with the right tools and techniques. By following this step-by-step guide, you can achieve a professional-looking finish while protecting your carpet from paint splatters or drips. So, unleash your creativity and transform your space with a fresh coat of paint on your skirting boards.
Leave a Reply