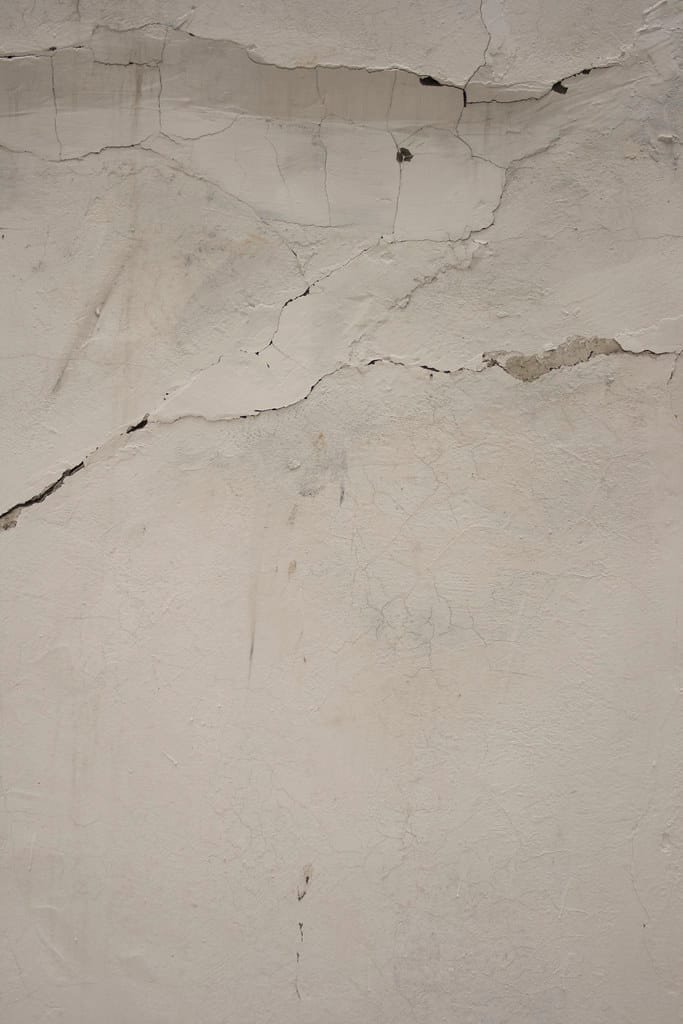
Renovating a space can be an exciting yet challenging endeavour, especially when dealing with newly plastered walls. One common issue that may arise is blow out, which refers to the appearance of uneven patches or bubbles on the wall’s surface. While blow out can be disheartening, it is not uncommon and can be fixed with a few simple steps. In this article, we will guide you through the process of rectifying blow out on newly plastered walls, allowing you to achieve a smooth and flawless finish.
Before starting any repairs, it is important to thoroughly examine the blow out on your newly plastered walls. Take note of the size, number, and severity of the affected areas. This assessment will help you determine the appropriate materials and techniques needed for the job.
Gather the necessary tools and materials
To fix blow out, you will need the following tools and materials:
- Utility knife or scraper – Used to remove loose or damaged plaster.
- Sandpaper – Essential for smoothing the repaired area.
- Plaster or joint compound – Required to fill and level the damaged areas.
- Putty knife – Used to apply the plaster or joint compound.
- Sponge or cloth – Necessary for cleaning the wall surface.
- Primer and paint – Required for the final finishing touch.
Step 1: Prepare the wall surface
Start by carefully removing any loose or damaged plaster around the blow-out areas using a utility knife or scraper. Gently scrape away any protruding or uneven sections, ensuring a smooth and even surface for the repair.
Step 2: Apply plaster or joint compound
Using a putty knife, apply a thin layer of plaster or joint compound over the damaged areas. Make sure to feather the edges to blend it seamlessly with the surrounding plaster. Allow the compound to dry according to the manufacturer’s instructions.
Step 3: Sand and smooth the repaired area
Once the plaster or joint compound is completely dry, gently sand the repaired areas using sandpaper. This will help to create a uniform and smooth surface. Be cautious not to sand too vigorously, as it may damage the surrounding plaster.
Step 4: Clean the wall surface
After sanding, use a damp sponge or cloth to wipe away any dust or debris from the repaired areas. This step ensures a clean surface for the final finishing touch.
Step 5: Prime and paint
To achieve a flawless finish, apply a coat of primer over the repaired areas. This will help the paint adhere better and provide a consistent colour. Once the primer is dry, paint the entire wall, ensuring that the repaired sections blend seamlessly with the rest of the surface.
Step 6: Final touches and inspection
After the paint has dried, inspect the wall for any imperfections. If necessary, repeat the steps mentioned above to fix any remaining blow out or unevenness. Remember, patience is key during this process, as it may take multiple iterations to achieve a satisfactory result.
Blow out on newly plastered walls can be an unwelcome surprise during the renovation process. However, with the right tools, materials, and techniques, it is a reparable issue. By following the step-by-step guide outlined above, you can effectively fix blow out and achieve a smooth and visually appealing wall surface. Remember, taking the time to properly repair and finish your walls will result in a beautifully transformed space that you can be proud of for years to come.
Leave a Reply